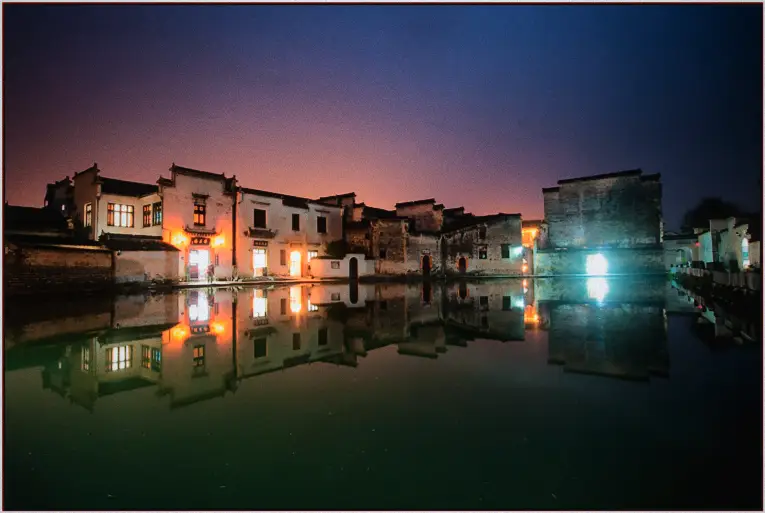
Being the camera nerds that we are, we are planning to purchase the new Sony α6300 as soon as it is released in March for our video work. Because owning Canons, Nikons, Olympuses, and a PhaseOne is not enough :P Seriously though, our different camera have different purposes, and boy does the Sony A6300 looks like that is going to be the best camera the cinematography work. We already have 2 metabones adapters ready to go, and eyeing off the new speed booster ultra.
The Sony A6300 looks amazing with 4k video, full HD video at 120 fps (hello slow motion!!) and apparently the worlds fastest autofocus with 425 detection points. This puts the camera in the same league as the most high end video cameras. So when we stumbled upon this review of the ISO performance, we were super excited.
The video quality looks amazing at up to ISO 12800, and that most likely means useable footage right up to ISO 51200. Since I still remember the days of using ISO 800 film, and worrying about quality, and later anxiously going beyond ISO 1600 on the Canon 5D mark 1. Wahoo, pre-order here I come!
A6300 ISO performance from Albedo Photography on Vimeo.
An update: After five weddings
After photographing five weddings on the Canon 5D III I have some more comments and some in-the-field photos to add. Although I mentioned in the article below there is no real need for the high ISOs as we bring our own lighting gear and don’t usually shoot above ISO 1600/3200 anyway. Well, we were wrong! The high ISO ability allows us to pull colour and texture from the sky at even midnight.
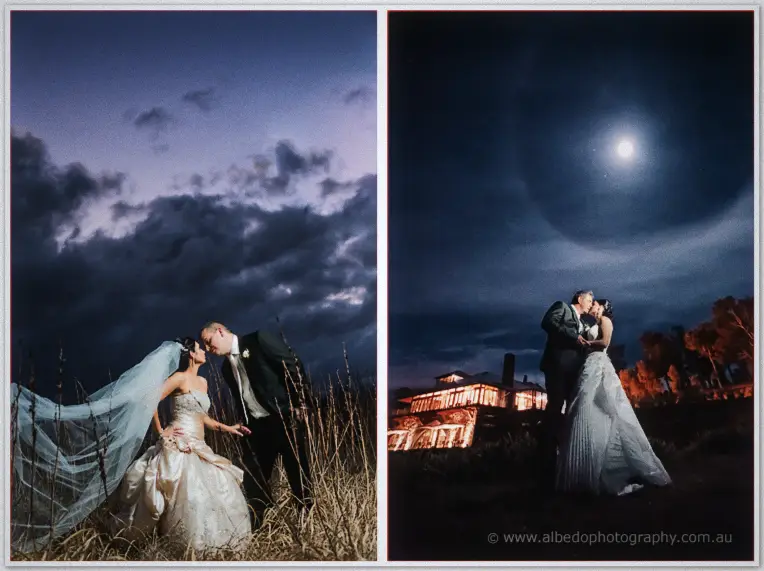 Above are some photos taken at recent weddings using the Canon 5D III. The photo on the left was taken 25 minutes after sunset.
The photo on the right was taken 5 hours after sunset (camera settings were ISO 25,600, 1/15 sec, f2.8, light from an iPhone) This shot definitely wouldn’t have been possible without our Canon 5D3 as we only had a few minutes to take the photo so no time to set up anything more complicated such as tripods and multiple exposures! Must admit the full moon and amazing clouds circling it did help though.
Whilst I’m updating you, I might as well mention that the 5D3s 61 autofocus points are over-rated. Since we frequently shoot on prime lenses with a tiny depth of field, there’s nothing we can trust more to lock onto our subjects eye that the single centre focus point, locked focus, and recomposing. The camera was, for some reason on 61 point autofocus mode this morning. I gave it a try, and hated it! Unless my subjects are moving towards me, I don’t think anything beats single point focus. Well not yet anyway…
Initial field test and review
Yay!!! I picked up our pre-ordered Canon 5D Mark III today. A whole day earlier than it is even meant to be released anywhere in the world, so boy were we excited!
Although, as wedding photographers we probably don’t need the upgraded version, since we recently bought another Canon 5DII, and we also use a Canon 7D which are more than amazing enough. But the fact that this camera merges the best features of both of our existing camera (the full frame of the Canon 5DII and the ability to take 6 or so frames per second on the 7D) plus displays low levels of noise when using high ISOs up to 12,800 was too hard to resist! To give you an idea, the highest ISO we are happy with on the 5DII or 7D is 3200 at a pinch. So that’s at least 2 stops better (or the ability to take photos where it is 4+ times darker) compared to the 5DII/7D. Plus Richard likes new toys!
Tonight we took out our new baby on a test around Perths CBD, and honestly had to look hard for an alley dark enough to actually need the use the maximum native resolution of ISO 25,600, and that was whilst using a lense that only had a maximum aperture of f2.8.
The focusing locked on as well, if not better than our Canon 7D. The only time we had trouble was when it was almost to dark to see and there was no contrasty area to focus on. We did a test using f1.4, 1/400 shutter, ISO 12800 whilst photographing me walking directly towards the camera in low ambient light in AI focus mode. The success rate of sharp photos was about 80%, better than we would expect from even the 7D. The success rate of the 5DII in this situation would be about 0%!
The 3.2 inch screen, slightly larger than the already huge 3 inch 5DII made everything look beautiful and clear.
A new feature of the 5DIII is the silent (well pretty quiet) shutter mode, which will come in handy when photographing a wedding ceremony in a church, where every little sound echoes.
The 5DIII battery is the same as the Canon 7D and the 5DII which makes me happy,(and is convenient) and there’s a dual axis electronic level (by pressing the info button twice), there’s no more excuses for crooked horizons :).
I had a play with the built in HDR feature, although not great for on people photography, it may have some use for landscapes and architecture photography. This is a new feature that does not exist in the 5DII or 7D. I was surprised the photo created in camera is only saved as a jpg, however the raw images used to create it are also saved in the default mode. Whilst the processor is meant to be much faster than the 5DII, the camera did take a little while to process the HDR as well, probably slower than the iPhone with the ProHDR app. :( And in general wedding shooting conditions I have never maxed out the buffer on the Canon 5DII anyway.
If any advanced amateur photographers are reading this trying to decide between the 5DII and the 5DIII I would recommend the 5DII and to use their savings to buy better lenses, as good glass makes more of a difference to the photo than what camera is used. The main benefit of the 5DIII compared to the 5DII is the ability to focus in really low light, and also to take photos at very high ISOs. To be honest, unless you are photographing something as fast paced as a wedding you can just use a torch to help with focusing in the dark, and a tripod or bounced flash to reduce your need to high ISOs.
At the end of the day, it’s just another tool, although a very sexy, fast, intelligent one! To quote one of my photography idols, Jerry Ghionis “a better microphone doesn’t make you a better singer, and in the same sense a better camera doesn’t magically create better photos”. But if anyone ever holds their wedding in a dark alley at midnight, where flash photography is not allowed, they can be reassured that we will still be able to take a decent photo! :) And as a wedding photographer, being prepared for anything is what it’s all about!
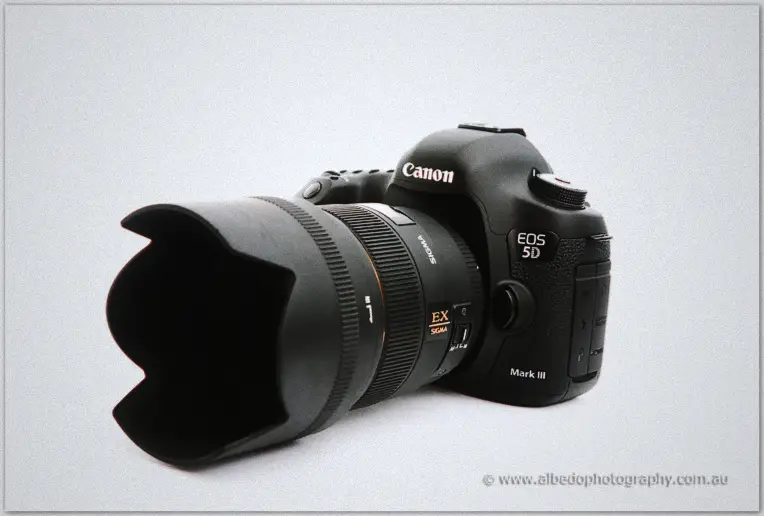
New Canon 5D mk III
Test shot: 1/80, f2.8, iso 12800 (hires)
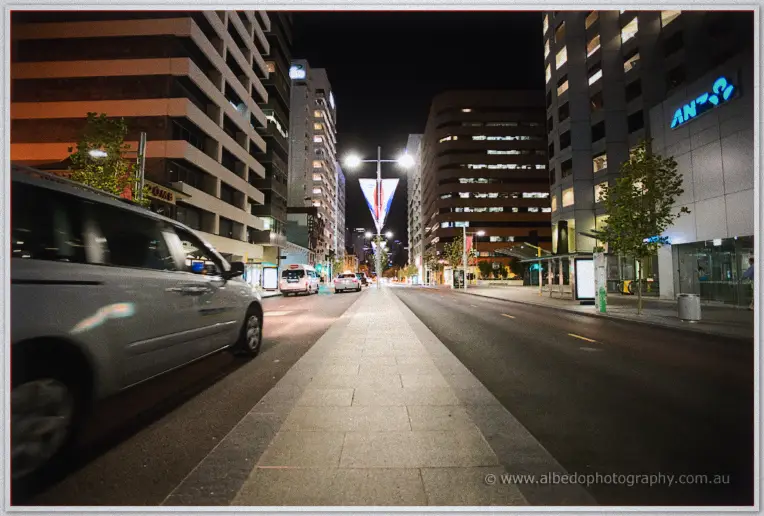
Test shot: 1/40, f5.0, iso 12800 (hires)

POSING TIPS FOR PHOTOGRAPHERS
Normally people do not stand stiffly upright, unless they are a guard for the Royal Palace! Yet this is the first pose that most people will do when a camera is aimed at them, along with a big cheesy smile. For a photographer, learning to pose your subject so that they look relaxed and comfortable will definitely improve your portraits.
And if you are going to be photographed by Albedo Photography, the following offers a glimpse into the behind the scenes and why Richard and I might be telling you. We find that when we do a photoshoot, be it a wedding or engagement session, my subjects will end up learning quite a bit about how to pose. By the end of the night at a wedding the entire bridal party know to stand, to turn their body sideways, and they’ll know what to do to avoid a double chin!
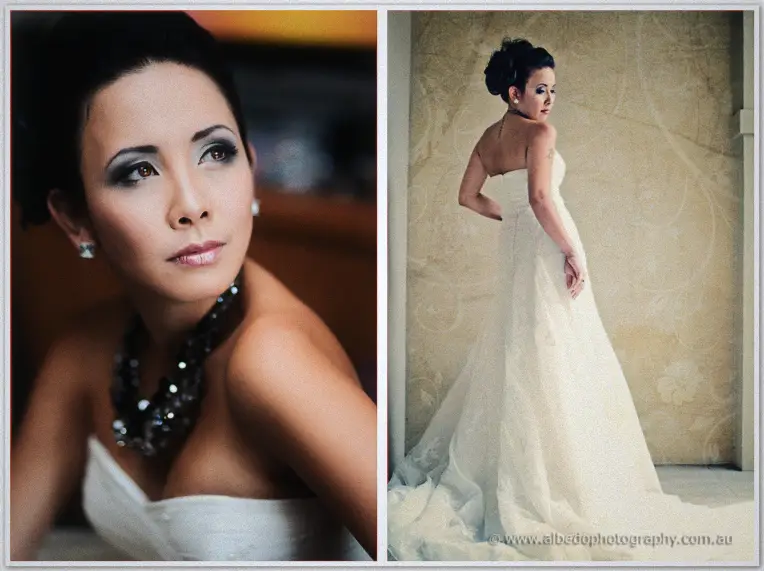
Relax your subject: As a portrait photographer it is your job to chat to your subject, encourage them, excite them, to suggest basic poses and even demonstrate how they should pose!
Bring props: Before the photoshoot, encourage your model to wear their favourite clothes and accessories. You can even ask your subject to bring props, such as a favourite toy or instrument.
Ask your subject to put their weight on only their back foot, which causes t
heir knee to automatically bend and their back shoulder to automatically be lowered, making thesubject look relaxed.
By turning the body on an angle to the camera, the body looks thinner. In general you should ask you subject to turn 45 degrees away from the camera. If you are taking a group photo, split the group down the middle and ask everyone to turn 45 degrees inwards, so they are facing towards the centre of the group.
Keep space between arms and body. To make your subject look more slim, ensure they leave space between their arms and their body. This can be as simple as asking your subject to put their hands on their hips.
The side of the hard looks much slimmer and more flattering than the back of the hand. Hands can easily look dominant in a photo, which will detract from the subjects face, especially if you have a hand facing front on to the camera, or clasped hands.
In a group photo try and hide as many hands as possible. You can hide hands behind the subject. If you are hiding hands in the subjects pocket, ask them to leave just their thumb hanging out as this looks better than hiding them completely.
Move everyone is close for group photos. In a group photo, even a small gap between people will look huge in a photo. And no matter how much your subjects will want to do a “rugby tackle pose” with their arms around each other neck, you need to discourage this.
If their chin is forming a ‘double chin’, ask them to lift their head slightly, or to push their chin forward a little. No matter how excellent you lighting and composition, if your subject has a double chin then they will not like your image at all!
When the subject is looking away from the camera, be aware of the whites in their eyes. If they are looking too far to the side, or to high there will be a lot of the whites showing, and this can look creepy. If you can see too much of their whites, guide your model by telling them where to look.
Don’t just take photos of you subject looking at the camera. For variety, I recommend you take a mixture of photos with the subject looking at the camera, and then looking away.
Take photos of mixture of happy and neural looks. If you find that you are only getting big smiles, ask you subject to do a soft smile. Then ask your subject to do a serious face- although it must be noted that trying to do this usually ends in a burst of laughter- which is great!
Don’t be afraid to experiment with motion. One of the benefits of digital photography is that you can be more experimental as you are not limited by the number on a roll of film. A spin, a jump, a flick of the hair, can both engage your subject and help them to relax in front of the camera and enable you to capture much more natural image of them.If I am asking my model to experiment with different poses, I will just let them know to wait until they hear the shutter click (or the camera flash) and then move into their next pose.
Bring inspiration. For inspiration, take a few fashion magazines along to you photoshoot, and try to replicate the poses. This will give you a good starting point to begin some learning and experimentation.
TIPS FOR PHOTOGRAPHERS
What makes a ‘good’ photo can be subjective, but after judging local and national photographic competitions I thought I would share some tips on what I think makes a successful image. Below is an outline of the key criteria for selecting which image to enter, whether you are submitting it in a local or national competition, and also some ideas to keep in the back of your mind when you are taking photos.
1. The first step is to remember it is better to submit something than nothing.
The only guarantee I can make is that if you do not submit anything, you definitely will not win!
2. Subject Matter
If there is a theme or topic for the competition, make sure the image you submit is relevant, otherwise you will not be eligible to win.
3. Impact Does your image stand out?
People are drawn to rare or difficult photographs. Some ways to make your image stand out is to:
- Communicate a story or message
- Capture the moment
- Focus on excitement, appeal, emotion or mood
4. Visual
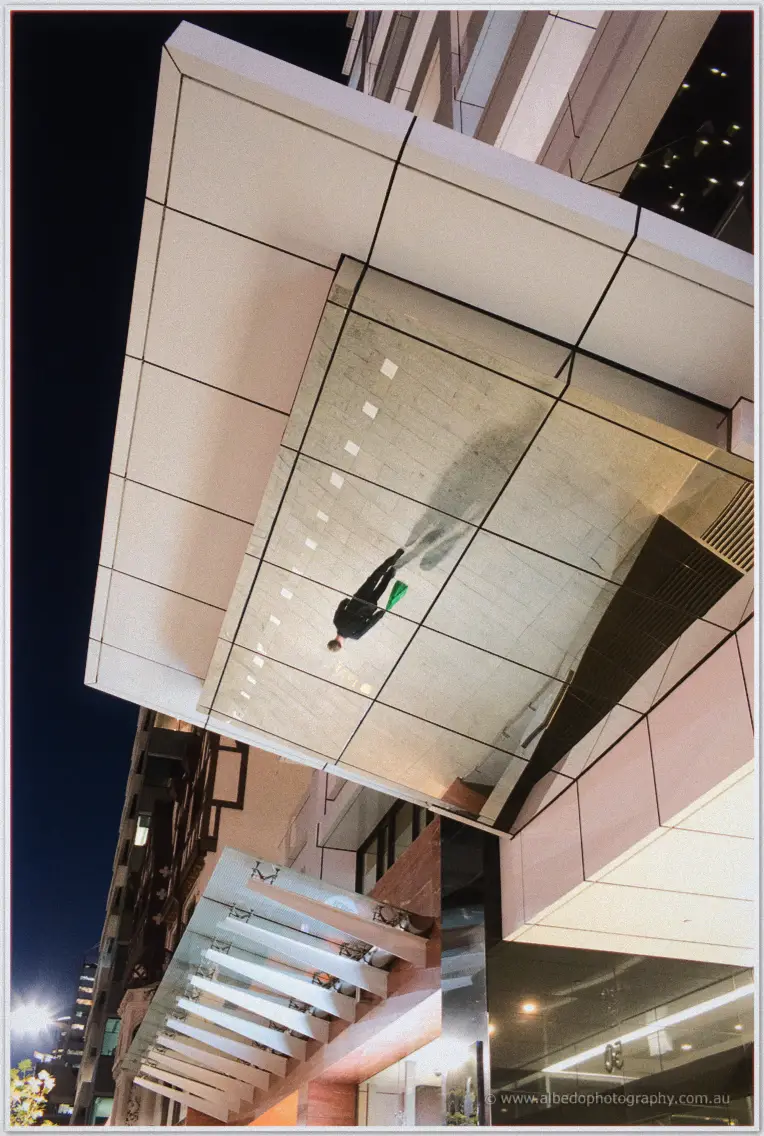
In this section you need to carefully analyse the basic elements of the image: – Composition. How does your eye move around the image and where does it land? In general, stronger images have obvious focal point, which is a centre of interest that your eye is drawn to. When taking a photo you can change your composition by changing you framing, viewpoint, background and perspective. – Design elements are the basic elements that form an image. They are line, colour, shape, texture, form, tone and space. – The design principles are movement, unity, harmony, variety, contrast, repetition, emphasis and balance. Do they improve the photo? – Have you applied appropriate post-processing techniques?
5. Creativity
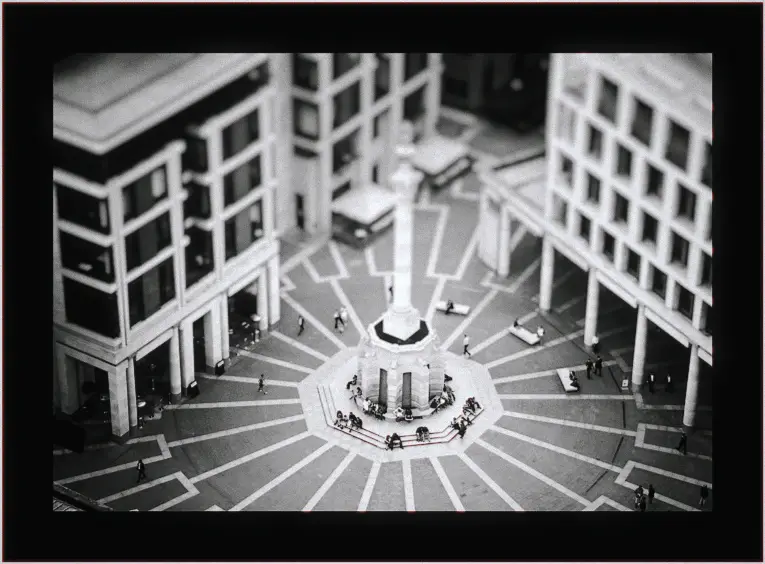
What are the creative elements that enhance your images impact? The more creative, unique or original your image is the more it will stand out.
6. Technical
Do the technical elements enhance its impact? The key technical areas to consider are:
- Lighting. Does it enhance the photo?
- Exposure. Is it correct?
- Colour and tone. Are the contrast and saturation appropriate?
- Depth of field. Has it been used to enhance the image?
- Focus and sharpness. Is the most important part of the image sharp?
Where to find competitions to enter
- ArtSource offers an extensive list of local, state and national photography competitions.
- The Australian Photographic Society lists many national and International Photography competitions
- You can join your local camera club, as these usually have monthly members only competitions.
The best way to improve you photography is to not only take many photos, but to spend time analysing what worked well and what didn’t! And remember, you have got to be in it to win it!
Getting started with your DSLR – private workshop
This is an ideal workshop for beginners to DSLR photography who would like to learn how to control your camera creatively. This workshop will get you off “auto mode” and shooting with confidence!
1) The “Exposure Triangle” – Aperture, ISO and Shutter Speed – which is the three variables to consider when taking a DSLR camera photograph.
2) Learn how to decide which exposure combination is best suited for the type of photo you are taking
3) How to get the correct exposure – the different metering modes – evaluative metering, centre-weighted metering, spot metering using exposure compensation, and how to read your histogram so you can quickly check if your photo is exposed properly
4) Focusing – Where to focus, single vs continuous focus
5) Rules of composition- you need to know them to break them!
6) Any other questions you have about photography or your camera
Level: Beginner
Days: Monday, Wednesday or Sunday evenings
Duration: 3 hours
Location: At you house in the Perth metro area, or at a local coffee shop
Tutor: Jen de Vos
What you need: DSLR, memory card, notepad and pen
Cost: $350 for one person/ $400 for two people
Practical night photography – private workshop
This is an ideal workshop for beginners to DSLR photography who would like to learn how to take better night photos and landscape photos using long exposures. Practical theory focuses on the exposure triangle, ISO, shutter and aperture, avoiding camera shake and calculating exposure.
Level: Beginner
Days: Monday, Tuesday or Sunday evenings
Duration: 3 hours
Location: At a coffee shop, followed by a practical night photography session in either Fremantle, Kings Park or South Perth.
What you need: DSLR with memory card and charged battery, tripod, cable release
Includes: use of tripod and cable release on request
Tutor: Jen de Vos
Cost: This is a private workshop, so the only people who will be atending is you and your friends! The more friends who to join you, the less it costs per person, so gather your friend and be prepared to learn
One person $450
Two people $225 each
Three people $175 each
Four people $150 each
Five or more people $140 each
Contact us for more information or to book
Workshops make great gifts for friends and family interested in photography and gift certificates are available.
To find out more, check availability of your chosen date and make a booking please contact Jen on jen@albedophotography.com.au or call 0421 924 996